1. Description of the Feature
The Ticket System allows you to assign a unique ticket number to each form submission. This makes it easier for both you and your customers to identify, reference, and track requests throughout the process.
This feature is especially useful for:
Return policy forms
Order tracking forms
Customer request or support forms
The overall Ticket ID structure is fixed and cannot be changed. However, you can customize the Prefix (e.g., A-, SUPPORT-, RMA-).
The system automatically constructs each unique ticket number using this standard layout:
The Julian date
The last two digits of the current year
A dynamic number that increments with each new submission
This ensures that each submission gets a unique ticket number every day.
2. Steps to Enable the Ticket System
Edit the Form.
Go to Settings - General - Form Ticketing section.
Check the option “Enable ticketing system for this form”
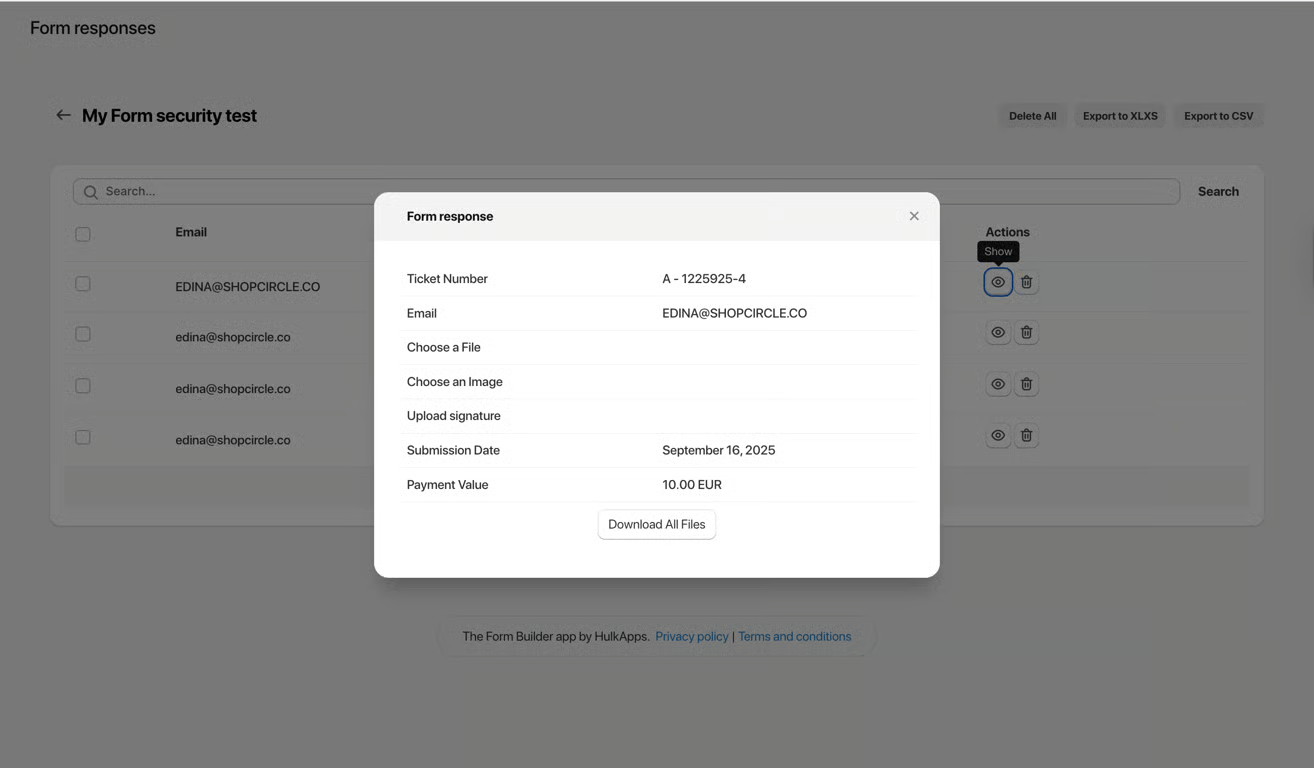
Enter your desired Ticket System Prefix (e.g., A-).
Save your changes.
Your ticket system is now enabled for this form.
3. How It Looks
On the Admin Side
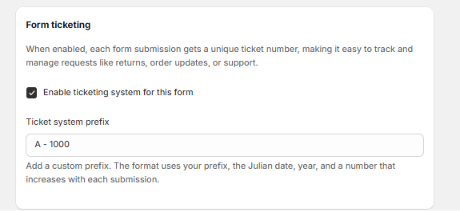
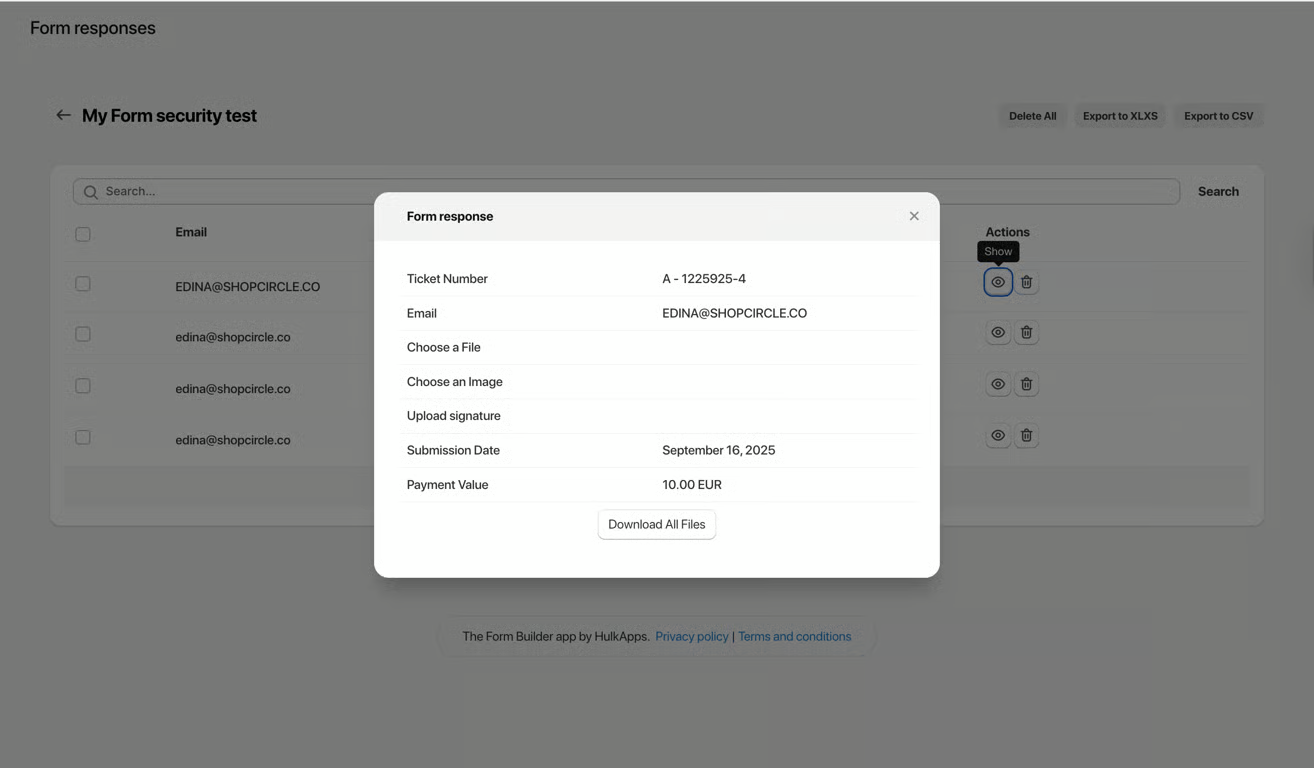
Each new submission will display a ticket number alongside the form entry.
You can search, sort, and filter submissions based on ticket numbers.
Example: A-25825-25-001 (Prefix + Julian date + year + submission number).
On the Storefront (Customer Side)
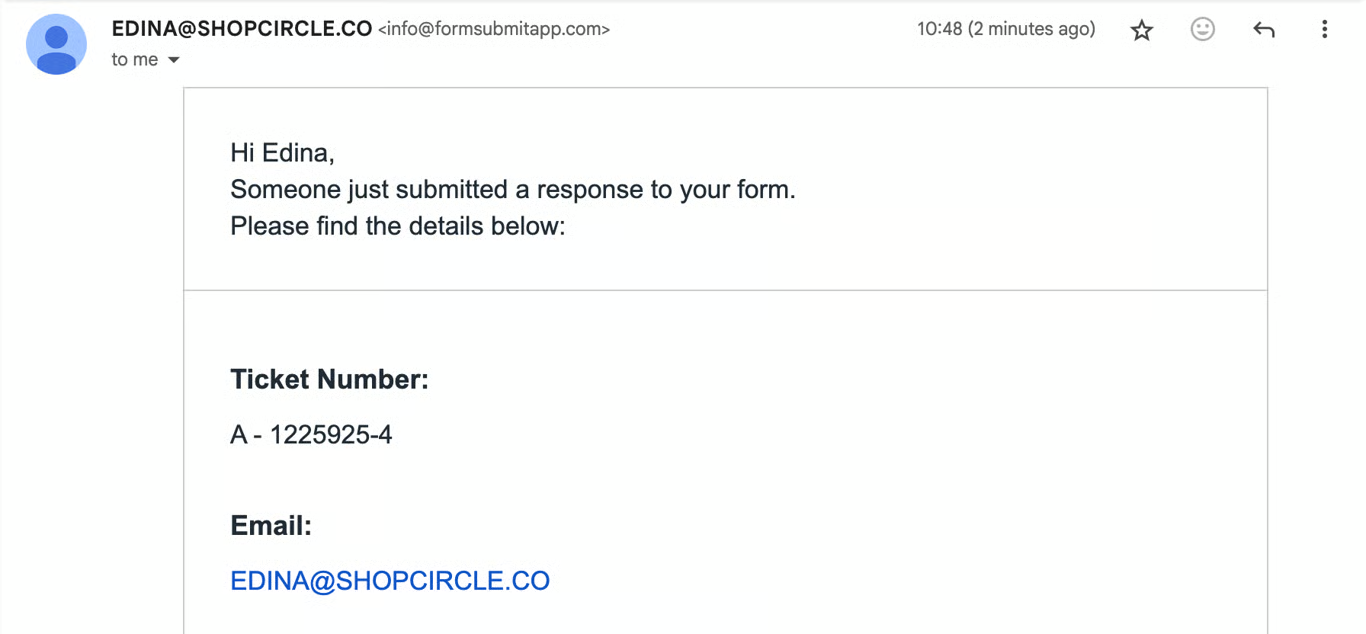
After submitting a form, the customer will see the ticket number displayed in the confirmation message or email notification.
Customers can reference this number in follow-ups or when tracking requests.
Was this article helpful?
That’s Great!
Thank you for your feedback
Sorry! We couldn't be helpful
Thank you for your feedback
Feedback sent
We appreciate your effort and will try to fix the article